Installation Overview
The NQRust-Identity Portal Installer is a terminal-based tool that deploys the NQRust-Identity stack on a Linux server. Installation is performed in two phases through a guided text user interface.
What gets installed
The installer deploys two services as Docker containers:
- Identity — OIDC/OAuth2 provider for authentication and authorization.
- Portal — Web application for license management and administration.
Both services are configured with HTTPS by default.
Prerequisites
System requirements
- Linux server (Ubuntu 24.04 LTS recommended)
sudoaccess- 15–40 GB of free disk space
- A hostname or static IP address reachable by your users
Software requirements
- Docker Engine installed and running
- Docker Compose v2 (the
docker composecommand)
Refer to the official Docker documentation (opens in a new tab) to install Docker Engine and Docker Compose.
Installer files
The installer operates in airgapped mode. All required Docker images are bundled into a single self-extracting binary, so no internet access is required during installation.
Two files are required:
| File | Description |
|---|---|
nqrust-portal-airgapped | Installer binary (~534 MB) |
nqrust-portal-airgapped.sha256 | SHA256 checksum |
These files are not publicly available. Contact the NQRust team to obtain the airgapped installer package.
Verify the installer
Place both files in the same directory on the server, then verify the checksum:
sha256sum -c nqrust-portal-airgapped.sha256Expected output:
nqrust-portal-airgapped: OKIf the checksum does not match, do not proceed. Contact the NQRust team to obtain a new copy of the installer.
Make the binary executable
chmod +x nqrust-portal-airgappedLaunch the installer
Run the installer from the directory where the configuration files (.env, docker-compose.yaml) will be created:
./nqrust-portal-airgappedOn first launch, the installer loads the bundled Docker images into the local Docker daemon. This may take several minutes.
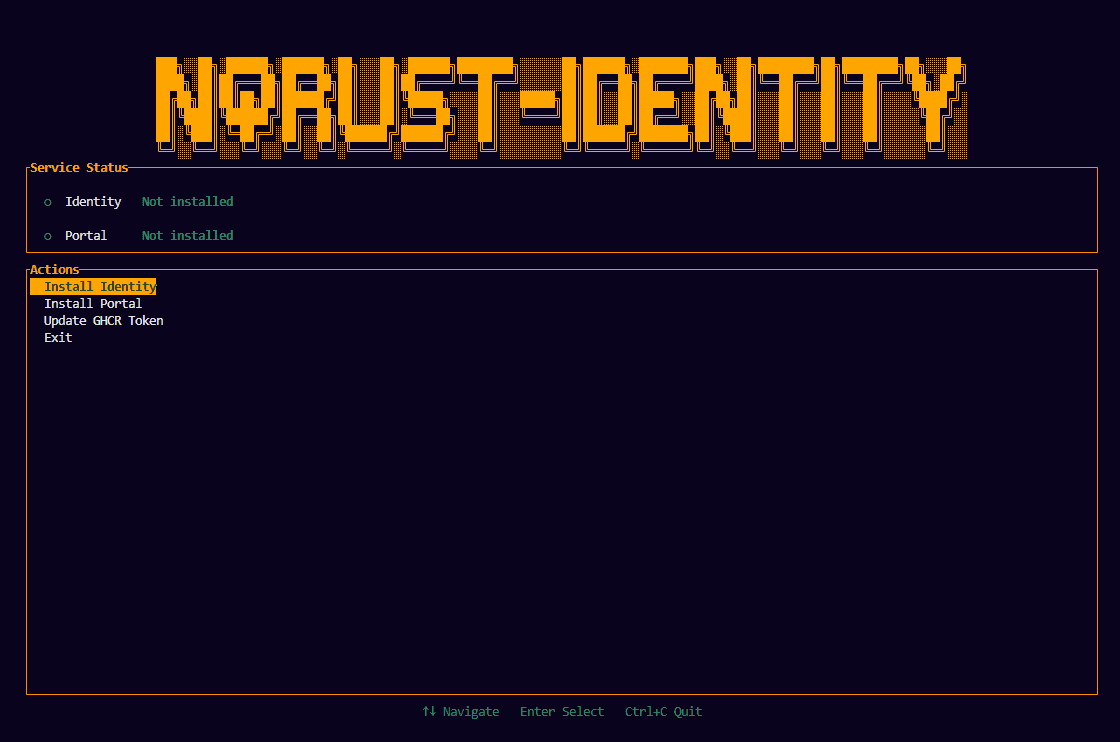
Installation flow
Installation is divided into two phases. Complete them in order:
- Phase 1: Install Identity — Configure ports and deploy the Identity and Portal containers.
- Phase 2: Configure Portal — Create an OAuth client in Identity and link it to the Portal.